A vase of colourful, Spring tulips in the classroom announces that Spring is on its way and that warm weather is around the corner.
In Canada, the entrances of flower and grocery shops fill quickly with tubs of these flowers, giving us hope that warmer weather will be here soon. If you’re able, get a variety of different colors of tulips to show your students. Often parents will bring them in if you ask.
Tulips stems grow rapidly when placed in a glass of water and the kids often ask questions about why this happens. For fun, measure the stems every day with blocks to see how much they grow and then introduce the art technique below for great tulip results.
Spring Tulip anatomy for kindergarten or preschool
- pick one tulip apart
- count the petals
- look at the center section, stem, leaves
- pass the petals around so everyone can feel how soft they are
- bring a tulip bulb to class and talk about how a tulip grows

For fun bring in a parrot tulip or a photo of one. Ask – How is it different from the other tulips? Why do you think it is called a parrot tulip?
Materials for Spring tulip art:
- Saucers of bright-colored paint
- Green paint
- large white paper about 11″ x 17″
- Art aprons
Procedure:
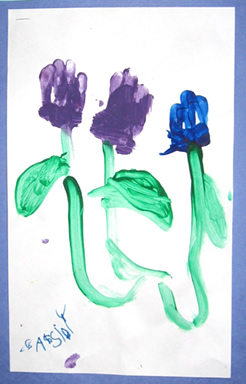
- Children paint stems and leaves with their fingers
- Show kids how to hold on to their baby finger with their thumb to keep them out of the way
- Dip the remaining three fingers into one of the saucers of paint
- Drag the three fingers down
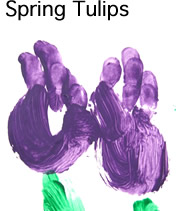
- Dip the heel of the hand into the paint and press on the paper to create the base of the Spring tulips
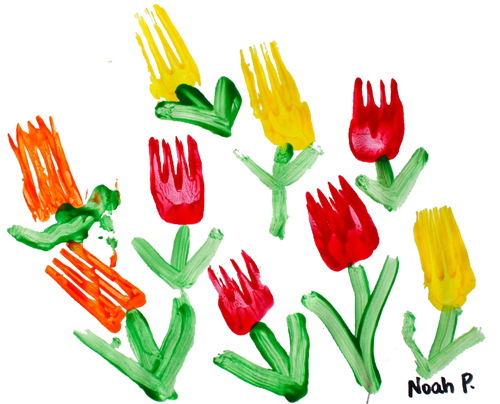
Printing tulips with forks
This method is similar. Press a fork into the paint and press it on the paper. Fingerpaint stems and leaves.

