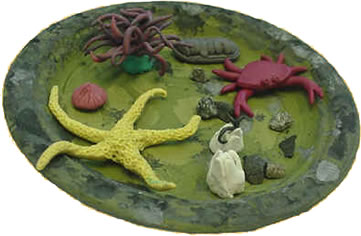
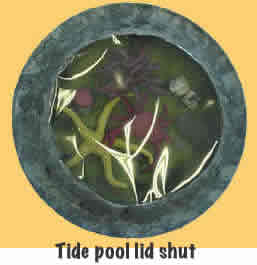
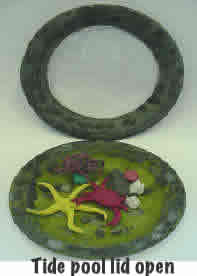
Primary students love this mini tidepool craft. A sturdy paper plate creates the base. Another sturdy or lighter weight paper plate with the center cut out and a cellophane window added, creates the effect of peeking through the water.
To help students learn the names and characteristics of each tidepool animal, use the name often as you go through the step-by-step modeling instructions. The animals in the images were made with Plasticine™. Playdoh™ does not work well for this type of craft, as it cracks when it dries.
To model the animals, first choose a material. If you would like the creations to permanently dry and be painted, use Modeling Magic™ or a homemade bread clay. Otherwise use a modeling clay such as Plasticine™.
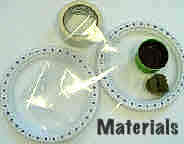
Materials:

- Sturdy paper plates for bottom of tidepool
- Top or lid of tidepool – a lighter weight paper plate but not floppy. Precut the circle out of the lid plate for students
- Packing tape
- Scissors
- Rock colored paint and sponges for sponge painting the base and lid
- Yellow cellophane
- Optional – white glue and sand to glue on the bottom
Instructions:
- Have students put their name on the bottom of the base paper plate.
- Sponge paint the base a lid with a variety of gray and white paint.
- The next day when the paint has thoroughly dried, each student prints their name on the lid of the tidepool for easy identification without turning the tidepool over.
- Help each student tape a circle of cellophane into the inside of the lid.
- Make a hinge by attaching the base to the lid on the outside with a piece of packing tape. Put another piece of packing tape on the same place on the inside of the base and lid.
- If you want spread white glue on the bottom plate and sprinkle sand over it.
- As each organism is created with modeling clay, have the students add it to their tidepool craft.
Modeling the animals:
Follow the links below for step by step instructions on how to model each animal:
Starfish & Anemone
Limpet & Barnacles
Crab & Chiton
Tidepool craft


