Looking for new art painting ideas?
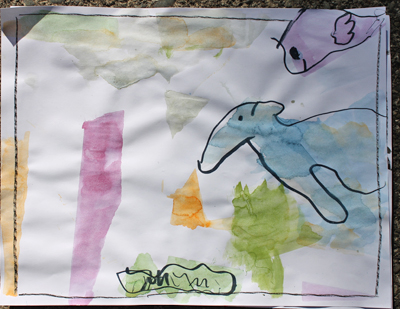
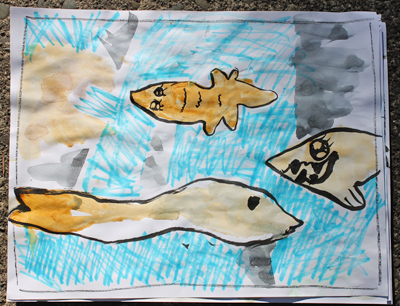
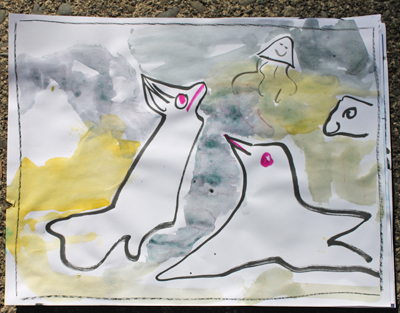
Torn paper art is an uncomplicated and creative art idea for kids.Children explore shape and the processes of painting and stencilling using their imaginations, experimentation, and purposeful play.
It’s a 2-step process as there is drying time in between. The end results will all look different. As this is a messy art painting project, it works well to set it up with smaller groups.
The kids will be more interested in investigating the techniques and materials than creating a great final product, so just relax as they play with each step.
Torn Paper Art
Materials to Gather
Step One:
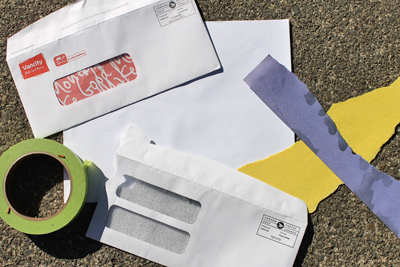
- Old envelopes, heavier weight computer paper or similar recycled construction weight paper to tear into shapes
- 1 piece of 9 x 12″ heavier cartridge type paper per child
- Circles of green painter’s type tape so torn paper sticks temporarily to cartridge paper while children paint
- Paint pots and brushes from easels OR medium thickness paint in 3 or 4 colors
- Damp painting rags for cleaning up fingers
Step Two – when paint is dry:
- Large felt markers
Process – Torn Paper Painting Art
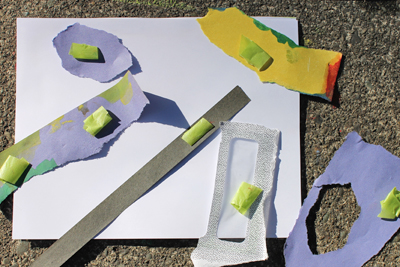
1. Give each child some old sturdier recycled or construction paper to tear into big shapes. They tear 4 -5 medium-sized shapes.
2. Give each child a piece of 9 x 12 inch cartridge paper.
3. Either have children create green tape loops or put 4 or 5 loops on each desk.
4. Children put a loop of tape on the back of each piece torn paper, then attach the papers on to the cartridge paper any way they want.
You may have to limit the amount of paper the children put on, as there won’t be any white spaces to paint!
5. Children paint over the pieces of torn paper filling in the spaces where there is no torn paper. They may need reminders to switch colors.
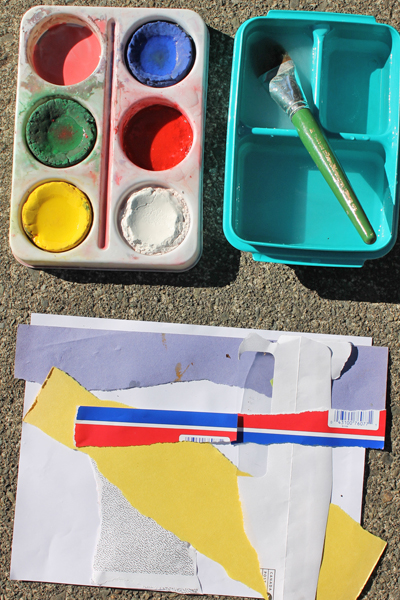
 Tip #1 – Always make a couple of your own pictures for demonstration purposes.
Tip #2 – Make the activity easy by using the paint tubs and brushes from your easel and have kids rotate them.
6. Let pictures dry.
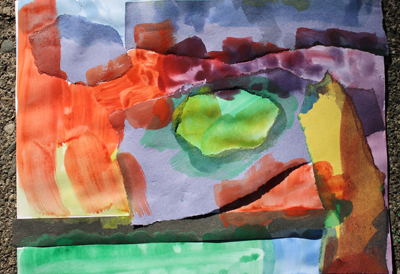
What do the shapes look like?
Sometime between Step 1 and 2, read books similar to the ones below to help the children understand the concept that shapes remind us of familiar things.
It Looked Like Spilt Milk, by Charles Shaw – In this book, the white shape silhouetted against a blue background changes on every page. Is it a rabbit, a bird, an ice-cream cone, or just spilt milk?
Little Cloud by Eric Carle – Little Cloud likes to stand out from the crowd. When all the other clouds drift up, he goes his own way, changing shapes to become a sheep, an airplane, a shark and a funny clown.
Step 2 – When all paint is dry…
Show the students your demo picture and show them how to slowly and carefully peel off the torn papers until they just have their cartridge paper in front of them.
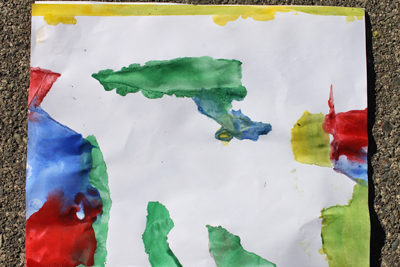
Remind them of the books they read and ask them what shapes they see in your picture.
Some children will see “things” in the painted shapes, while others will see “things” in the white shapes.
The children:
- Remove their torn paper.
- Look for shapes in their picture that remind them of something.
- Use black or dark colored markers to outline what shapes they see.
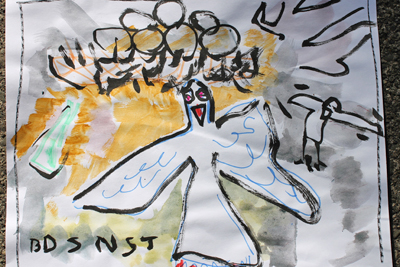
- Some children will color in the “thing” shapes and/or the background shapes.
- Optional: Draw a border around the pictures.
- Optional: Children write a word or sentence about their art
