Introduce light science for kids with fun activities and experiments. As children explore making reflective collages, peep boxes, and participate in straight line and blocked shadow experiments their vocabulary of light science words will increase.
They’ll discover the differences between transparent, translucent and opaque as they play with colored papers and / or make a colored paper window.
Use new light and color vocabulary, such as reflection, refraction, ray, and prism as children play and take part in light and color activities.
Children don’t need to memorize the light vocabulary, just introduce it to them in everyday play experiences.
Teach Basic Light and Color Concepts
Basic light concepts:
- We need light to see things
- Light seems to travel in a straight line
- Light goes through some things
- Some things reflect light
- You can block light to make shadows
- Light is made up of lots of colors
Make a collage to show that some things reflect light
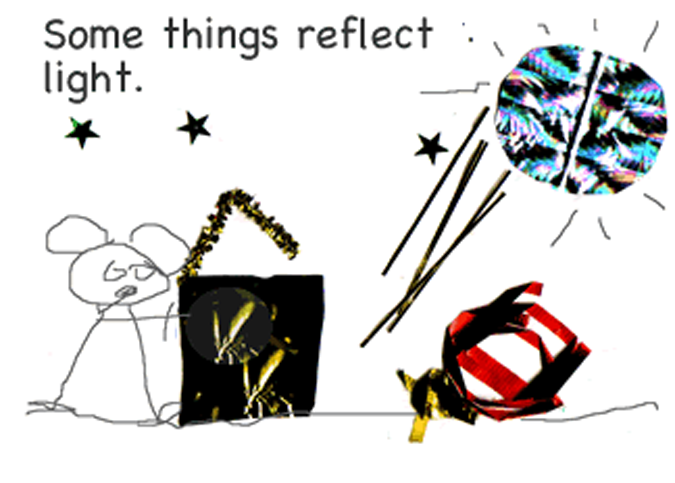
- Children play with flashlights and a collection of shiny, glittery, ribbon, papers, Christmas cards, etc.
- Light science for kids includes teaching about reflection.
- As the children play and explore how light reflects off of juice lids (no sharp edges) and old CDs and watch how light bounces off the ceiling and walls, it will help them understand the concept of reflection.
- Have a pile of shiny objects and flashlights in the science center and the children test which things reflect light and which ones don’t.
- Finish with a reflection collage.
- Children glue (use white liquid glue) bits of shiny materials onto a paper to create a picture.
Light Color Vocabulary
Don’t worry about your students memorizing vocabulary in kindergarten. Just use the words as you introduce activities and they will eventually remember and use the words.
- transparent – light passes through
- translucent – some light passes through
- opaque – no light passes through
- reflect, reflection – light bouncing off objects
- ray – a straight line of light
- prism – a specially shaped transparent object that is used to separate
light - dull, matte
- shiny, glossy
Make a peep box to show that we need light to see things
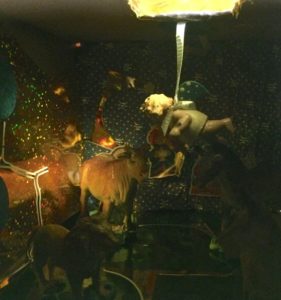
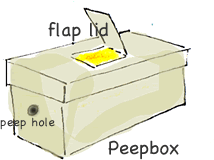
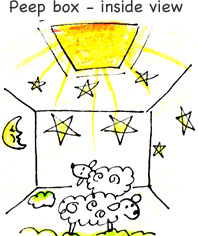
- Cut a small hole in the front of a shoe box (or any box) and a square hole that can open and shut on the top of the lid.
- Line the hole with brightly colored cellophane.
- Cut up images from glittery holiday cards and glue on sides or stand them up inside with modeling clay to create a scene.
- Optional: Stand toy animals up with modeling clay
- You may have to adjust the size of the top hole to let more light in. Kids also like shining a flashlight in the top hole.
- Have the children look inside with the square hole on the lid closed.
- Ask them what they can see.
- If the hole is shut securely on the lid they will probably say,” nothing”.
- Open the hole in the lid and again ask them to describe what they can see.
- Children play with the box and shine the flashlight in all the corners.
- The kids like to open the box and move things around, then look at their new scenes.
- Discuss how we need light in order to see things.
Show that light travels in a straight line
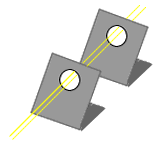
- Bend 2 pieces of lightweight 8.5 x 11 poster board and cut a hole in exactly the same place in each one.
- Shine a flashlight through the holes to show how light travels in a straight line.
Make a picture to show that light goes through some things
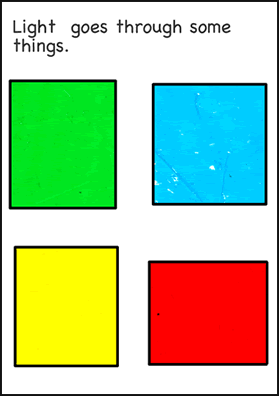
This science activity shows the difference between transparent paper, translucent paper and opaque paper.
- Begin with cutting four square window holes in a piece of tag board (lightweight card).
- The holes for the windows do not have to be perfect or the same size.
- Just bend the paper and snip with scissors.
- Make flaps if you want the children to be able to open and shut the windows.
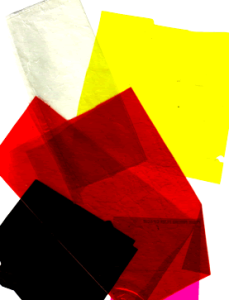
- Next, have the children tape two pieces of different color transparent cellophane over 2 of the holes.
- Tape a piece of translucent paper (yellow tissue, wax or parchment) over another hole and a piece of opaque, light colored construction paper over the last hole.
- Have them peek through the windows.
- The children can experiment with a flashlight light from the windows to see which papers the light will go through.
- Children can record their findings from this science activity in a light booklet or journal.
You can block light to make shadows
- Set up a bright flashlight near the table and turn the overhead light off above and the children play with shadow making.
- Have the children put their stuffed toys (or other objects) in front of the flashlight and trace the shadows with a thick felt pen on to large sheets of paper.
Light is made up of lots of colors
- Hang prisms in front of windows.
- Hopefully, the sun will shine and create rainbows around the room.
