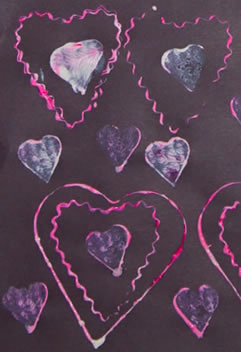
This Valentines art activity gives children an opportunity to play with stamping both line and shape hearts and to increase their art vocabulary.
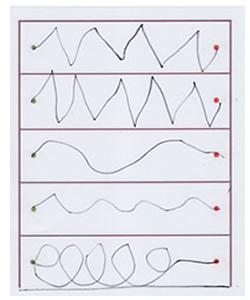
A few days before the Valentine’s art lesson, make straight, wavy, zigzag, spiral and other lines on a chart and talk about what the lines are called.
Find some children’s books in your library to point out the differences in the way artists use line and shape.
Some picture books, such as Chicka Chicka Boom Boom by Bill Martin and John Archambault, and Lois Ehlert’s Color Zoo, use bold, colorful shapes to make their images. Other books, like Robert Munsch’s, The Paper Bag Princess and Don Freeman’s Corduroy the Bear, have mainly line drawings in their illustrations.
Introduce the following concepts to young children. You can go into more depth with older children. Ask your students to find a book in your library that uses mostly shapes or mostly lines.
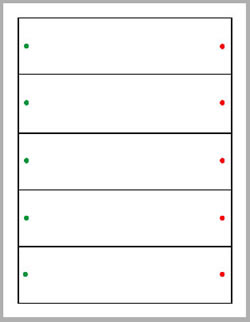
As an additional vocabulary builder have children use a worksheet like the one below to introduce them to types of lines and how to make them. Read more o this in the step by step drawing section. Keep practice fun by playing “Green Light, Red Light” by photocopying a paper with sections and colored dots on the paper.
Free printable version of Green Light, Red Light, here…
Like many art projects for young children, this Valentines art activity works well if you demonstrate to the whole class and then work with smaller groups of children as part of Center time.
Valentines Potato Art Objectives and Vocabulary
- To help children notice how artists use line and shape to create pictures
- To introduce students to the names of different kinds of lines such as horizontal, vertical, diagonal, curving, wavy, zig zag, straight, choppy
- To introduce students to the names of some shapes
- To practice printing with stamps, controlling the amount of paint on the stamp, and pressing the stamp down firmly
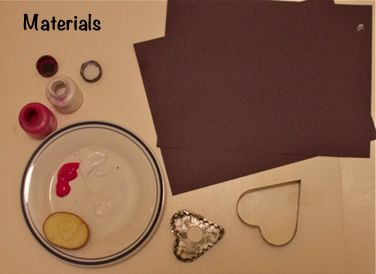
Materials:
- Potato stamp cut with a heart cookie cutter (See potato cutting tips below!)
- Red, white and pink thick poster paint
- Dark blue or black construction paper
- tray for paint
- heart shaped cookie cutters in various sizes
Tips for successfully cutting potato stamps
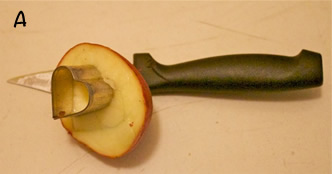
- Press a cookie cutter into one potato half and tap gently to insert into the potato about one quarter inch deep (image A)
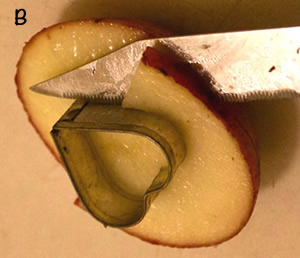
- Cut around the cookie cutter with a paring knife (image B)
- Slowly remove the cookie cutter by gently wiggling it
Demonstrate
- Show the children how to dip the stamp into the paint and then wipe excess paint off the stamp
- Demonstrate the differences in the finished effect when you stamp in a rushed way and move the stamp compared to when you press slowly and firmly on the paper
Procedure:
- Have each child practice stamping on inexpensive newsprint first until they are familiar with the process of wiping excess paint off his potato stamp or cookie cutter and stamping carefully
- Give each child black construction paper to make a few picture
- Have children put their names on the back with white pencil crayons
- Some children like to create random pictures while others will make designs with repeat patterns
Display and Discuss
Put finished art side by side on a bulletin board for a colorful display. Have a brief discussion about the different kinds of lines the children used.
You might say, “I made wavy, straight and curved lines with the cookie cutters and heart shapes only with my potato.” Then ask – What else can we make with curved lines? With wavy lines? With straight lines?
