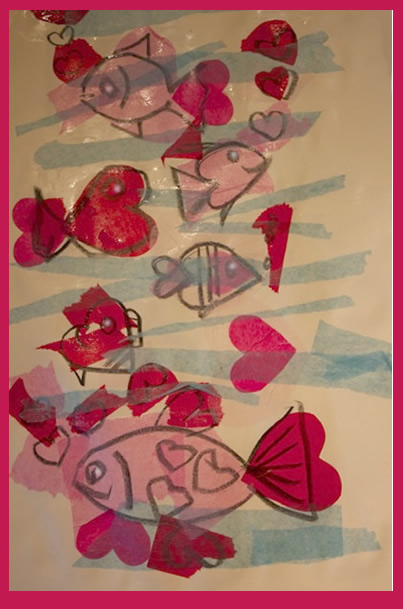
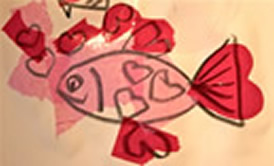
Combine Valentines Day art with your latest investigations.
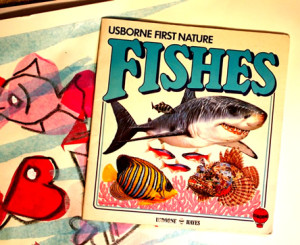
In this example, the children had been watching three different fish thanks to a parent who lent us an aquarium.
The tissue paper and glue art activity below, provided opportunities for children to practice observing and drawing fish, as well as creating a fun Valentine’s picture.
With a little imagination, it’s easy to practice art skills and explore a topic of study at the same time. As children share and talk about their finished pictures, they also have opportunities to use any new vocabulary they have learned.
Start with observation
The kids started out by observing the fish for a week or so and then recording what they had noticed in a science notebook. They also had basic practice drawing fish with a step by step way with rainbow and happy smile lines.
Depending on the topic you’re exploring, just use your imagination to replace sections of the subject with heart shapes.
Tips for Successful Tissue Paper and Glue Art
If you haven’t had experience with tissue paper and glue art, here are a few tips:
- The process starts by drawing big images on the paper.
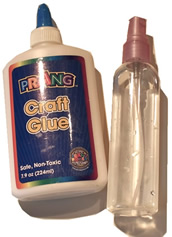
- Next glue tissue paper shapes over the drawings with a brush and watered down glue.
- Finally brush another layer of the glue on top to make the picture dry with a shine.
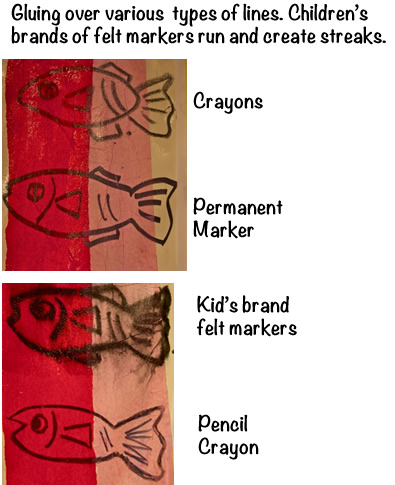
- As you can see from the sample pictures below, using a felt marker doesn’t make fresh looking art work as it smears when the wet glue touches it.
I don’t like children using permanent markers because of the fumes from the ink, and eventually found that jumbo black crayons were the best choice for little children. The only drawback is that kids have to press hard to get really dark lines.
The tissue paper colors always run a bit in these projects, some colors more than others but it all adds to the finished effect.
Materials:
- Tissue paper in various shades of pinks and reds
- tear some tissue paper into strips and square shapes
- precut some of it into hearts in various sizes for the children
- Light blue tissue paper
- 12″ x 18″ light card stock or heavy paper
- Black jumbo crayons
- Glue mixed with just enough water to make it creamy
- Large paint brushes
Demonstrate First
Check out the vocabulary list below and explain the words as you demonstrate.
- Draw topic pictures on card stock . Encourage children to keep the pictures large and to press hard on the black crayons as they draw.
- Show the children the materials. Tell them that the glue has been diluted with water so it is not as thick as regular glue.
- Dip a large flat brush into the glue and apply liberally to ONE section of the drawing.
- Place tissue paper on top of the drawing where the glue has been applied
- Put a second layer of glue on top of the tissue paper.
- Point out how the colors change when the tissue papers are overlapping.
- Work until all the tissue paper has been glued on.
- Cover the whole surface with glue even where there is no tissue paper.
- Allow to dry.
This art activity works well if you demonstrate to the whole class and then work with smaller groups of children during center time.
Looking at the finished art
After the art is dry, talk about how the colors appear darker where the paper overlapped and how the colors changed when the tissue paper colors ran together.
Learning Objectives for Tissue Paper and Glue art
- To introduce art vocabulary:
- overlap
- overlapping
- dark, darker
- light, lighter
- tissue paper,
- spread, dilute
- To show students how tissue paper colors change when they are overlapped
- To give students the opportunity to experiment and change colors by overlapping tissue paper (and by smearing the running colors with a brush!!).
- To give students the opportunity to work with glue in a new way by spreading it on the paper with a large paint brush
